Sage Barista Pro
Barista Pro maintenance, organised around the jobs that matter.
Cleaning cycles, descaling, water filtration, steam-wand care and grinder maintenance organised around the Barista Pro controls.
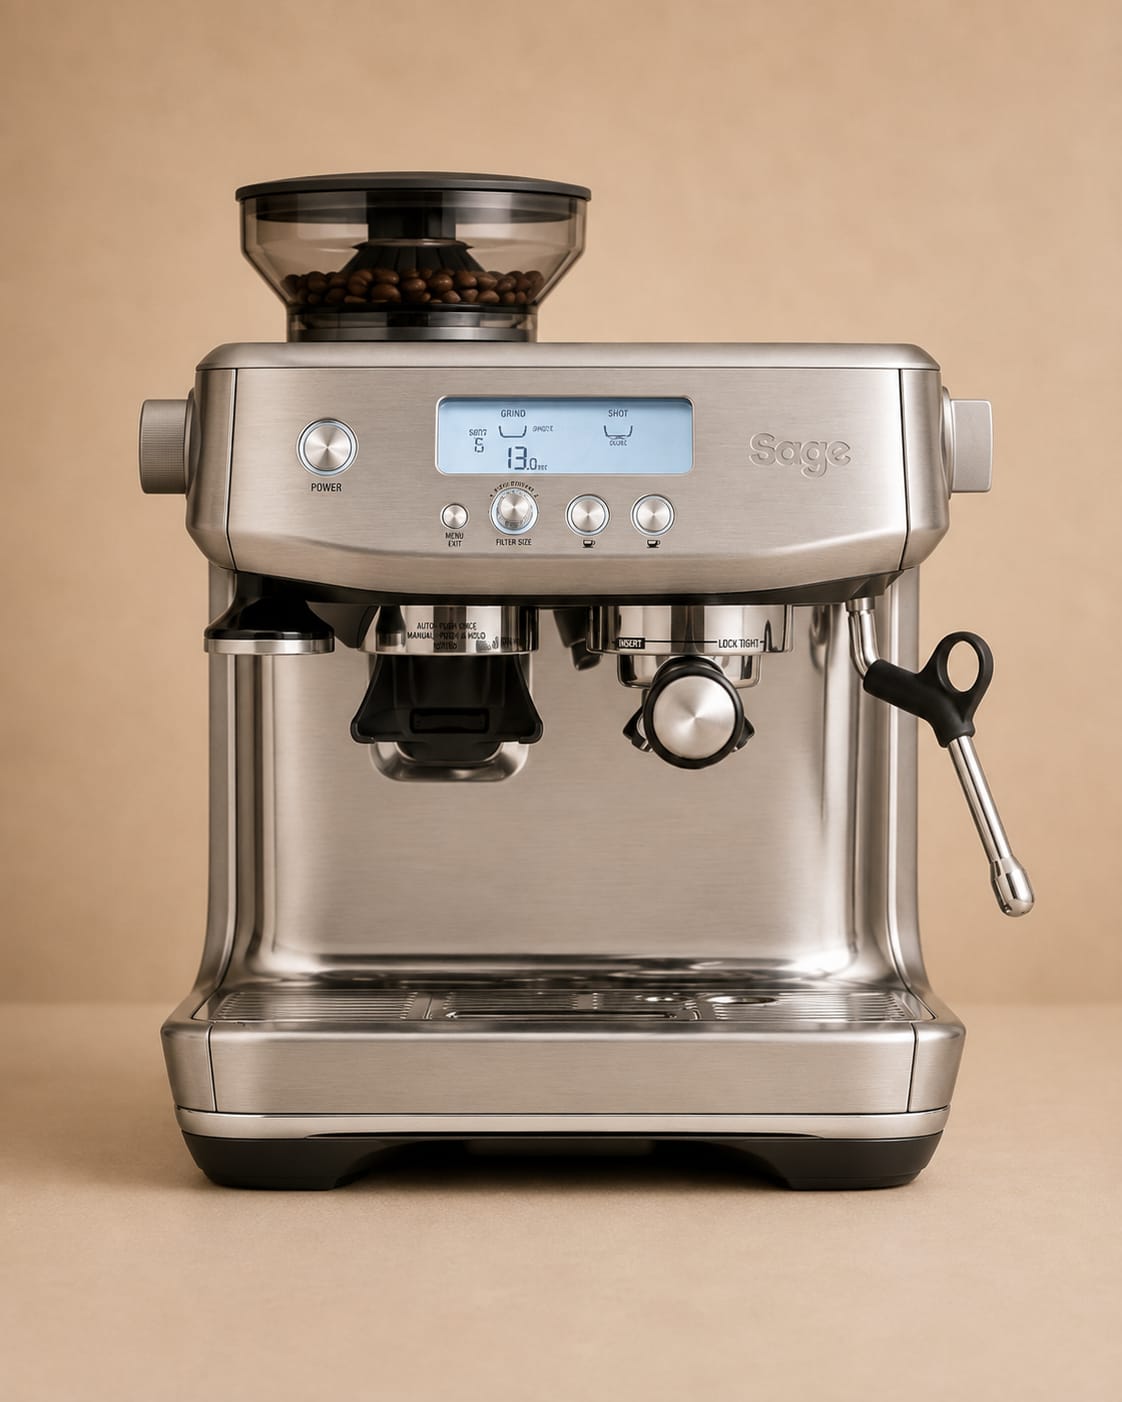



Quick video guides
Watch the machine controls before you start.
These clips are from the same Ventori care-video library used by the app.
Start the Barista Pro flush cycle
Maintenance schedule
The useful baseline for your Barista Pro.
Use the machine’s own prompt sooner whenever it asks for maintenance. Water hardness and usage can also change the practical timing.
VENTORI CARE · ANDROIDTrack this machine in Ventori Care.
Track this machine in Ventori Care ↗Keep this maintenance schedule, reminders, history and available guides with the machine instead of remembering the next job yourself.
Steam wand
Purge and wipe the wand promptly after steaming.
Group head & portafilter
Flush the group head and rinse the basket and portafilter.
FLUSH cleaning cycle
Run the coffee-oil cleaning cycle with the cleaning disc and tablet.
Grinder
Dry-brush loose grounds and residue from the removable burr area.
Water filter
Replace the fitted filter on the Sage interval or sooner where appropriate.
Descaling
Run the Barista Pro DESCALE programme and complete the fresh-water rinse.
Personalise this schedule
Want Ventori to remember the Sage Barista Pro maintenance rhythm for you?
Your machine is already selected. Add local water hardness and typical use without choosing the manufacturer or model again.
Coffee-oil cleaning
Run the Barista Pro FLUSH cleaning cycle.
The FLUSH programme is the Barista Pro coffee-oil cleaning cycle. It is separate from descaling.
Fit the cleaning disc
Insert the 1 CUP filter basket into the portafilter followed by the supplied cleaning disc.
Add the cleaning tablet
Place one backflush cleaning tablet into the portafilter basket.
Lock in the portafilter
Lock the portafilter into the group head and position a suitable container below.
Select FLUSH
Open MENU, turn the GRIND AMOUNT dial to FLUSH, press the dial to select it, then press 1 CUP when it illuminates.
Let the cycle finish
Allow the programme to complete, then remove the portafilter and check the tablet has dissolved.
Rinse the brew head
Remove the cleaning disc and run a fresh-water rinse through the brew head.
If tablet residue remains, repeat the cleaning cycle before the final clean-water rinse.
Mineral scale care
Descale the Barista Pro.
The Barista Pro DESCALE programme works through the coffee, hot-water and steam circuits before the fresh-water rinse.
Remove the tank and filter
Empty the water tank and remove the fitted water filter before adding descaling solution.
Prepare the solution
Prepare the coffee-machine descaler according to its dosing instructions and fill the tank.
Position a large container
Refit the tank and place a suitable container beneath the outlets.
Select DESCALE
Press MENU, use the GRIND AMOUNT dial to navigate to DESCALE and press the dial to select it.
Run each descale stage
Press 1 CUP to start and follow the LCD prompts for the coffee, hot-water and steam stages.
Run the fresh-water rinse
Rinse and refill the tank to MAX with fresh water, then complete the rinse cycle shown on the LCD.
Refit the filter
Refit or replace the water filter before returning the machine to normal use.
Do not add a cleaning tablet to the water tank. Coffee-oil cleaning and descaling are separate maintenance jobs.
Water filtration
Keep the Barista Pro water filter on schedule.
A fitted water filter supports incoming-water care but does not replace the machine’s descale programme.
Remove the used filter
Lift the used filter from the tank or holder without forcing the connection.
Prepare the replacement
Prime the replacement filter according to its instructions before fitting it.
Refit securely
Install the prepared filter and refill the tank with fresh water.
Track the next change
Record the installation date or use the holder reminder so the next replacement is not missed.
After milk use
Keep the steam wand clear.
Milk residue is much easier to remove before it dries onto or inside the steam tip.
Purge first
Purge the steam wand briefly before cleaning.
Wipe while warm
Wipe the wand immediately with a clean damp cloth.
Purge again
Give the wand another short purge to clear residue from inside the tip.
Clean a restricted tip
If steam output becomes restricted, clean the removable tip using the machine cleaning tool and refit it securely.
Integrated grinder
Remove stale grounds from the grinder.
Routine dry cleaning helps reduce old grounds and coffee residue around the removable upper burr.
Empty the hopper
Remove remaining beans before opening the grinder.
Remove the upper burr
Unlock the hopper and lift out the removable upper burr.
Brush away residue
Use a dry brush to remove loose grounds. Keep water out of the grinder chamber.
Reassemble
Refit the upper burr and hopper securely before adding fresh beans.
Understand the care task
Relevant Ventori care
Match the maintenance product to the job.
Backflush cleaner removes coffee oils. Descaler removes mineral scale. Water filtration is a separate water-care job.